Orvis Knot
The Orvis Knot, the result of a contest put on by Orvis a number of years ago which was won with this knot by a man by the name of Larry Becker, is a remarkably strong and easy to tie knot. It is not a widely popular knot but independent tests show that it is one of the strongest tight-to-the-eye connections around. It works well with a wide range of tippet material diameters.
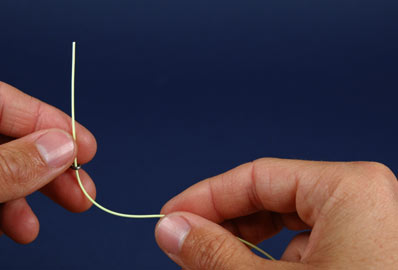
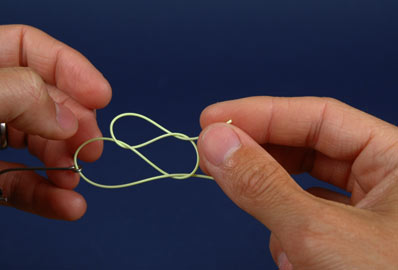
1 - 2: Thread the tag end of your line through the hook eye from the bottom then run it underneath the standing line and back up again on the close side.

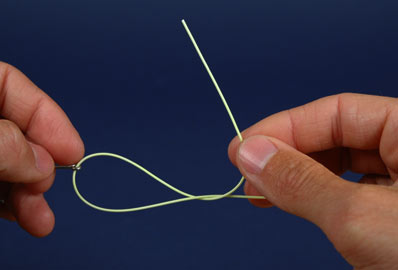
3 - 4: Run the tag end through the loop created by the hook eye from back to front.
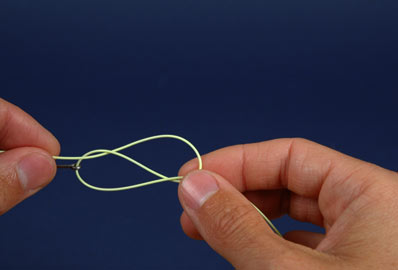
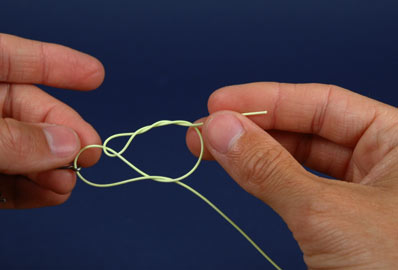
5: Next run the tag end through the new loop you just created from back to front.
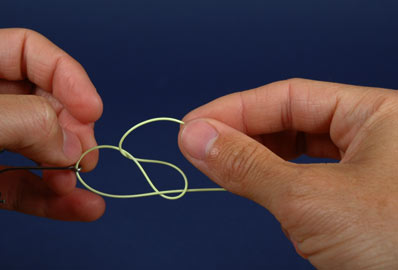
6: Go over the top leg then run it through one more time.
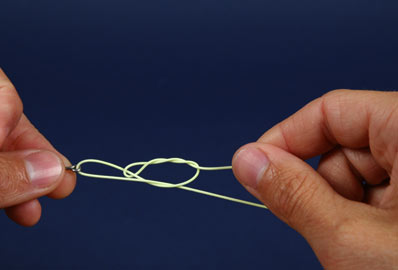
7: Form two wraps around the top leg of the loop.
8: Pull the tag end to close the knot.
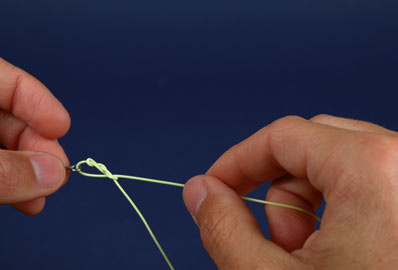
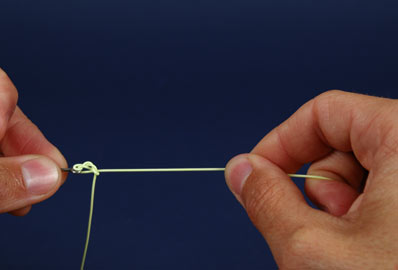
9: Continue closing the knot.
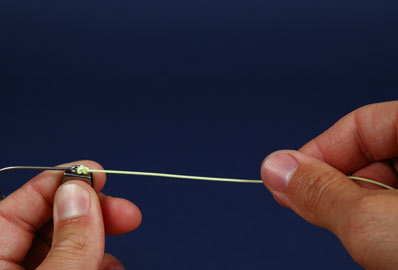
10: Moisten the knot and pull on the standing line and fly to firmly seat the knot.
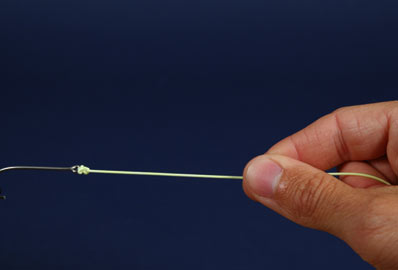
11: Trim the tag end.
12: The finished knot.
Our brands